Creating a digital publication with magazine maker software may seem like a somewhat daunting task, at first sight, however, it really isn’t as hard as it sounds. In this article, I will show you just how easy it is to use online magazine maker software. For this tutorial, we will be using Yumpu Publishing to create our online magazine but to get things started we must first create a PDF version of our publication. If you have already had a PDF version then you can skip ahead to step 2.
STEP 1 – CREATE A PDF
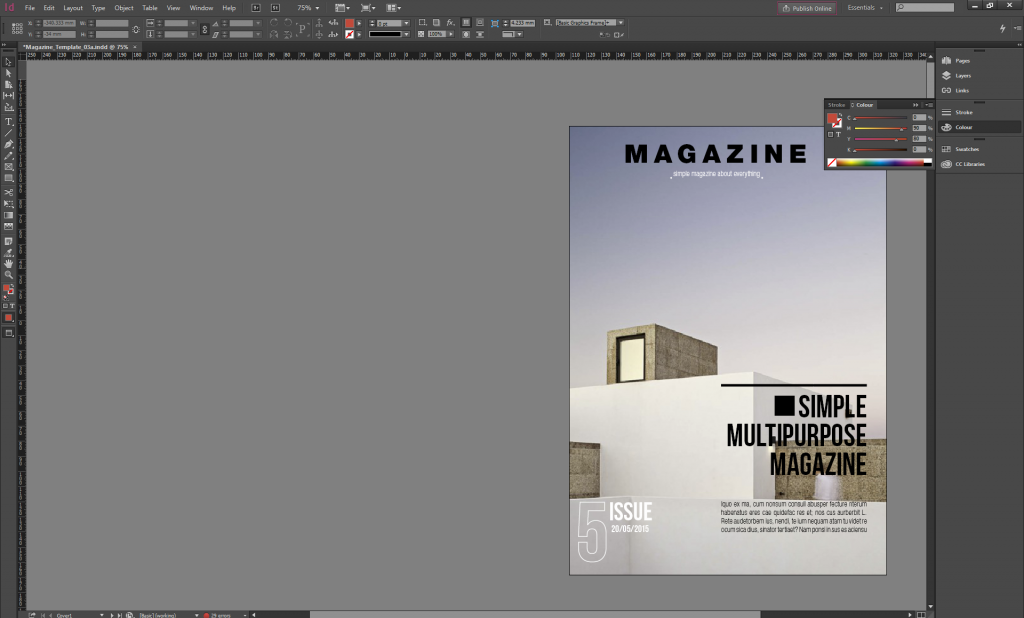
To create a PDF version of my magazine I used Adobe InDesign, however, there are a number of similar applications that can be used to do the same job, such as Adobe Photoshop or Microsoft Word.
To design my publication I used a magazine template, which I purchased from an online marketplace and if you aren’t a graphic designer then I suggest you do the same.
There are a number of marketplaces that sell templates online but I would recommend using either Creative Market or Graphic River as they both have solid reputations and stock high-quality products.
STEP 2 – CREATE A YUMPU ACCOUNT
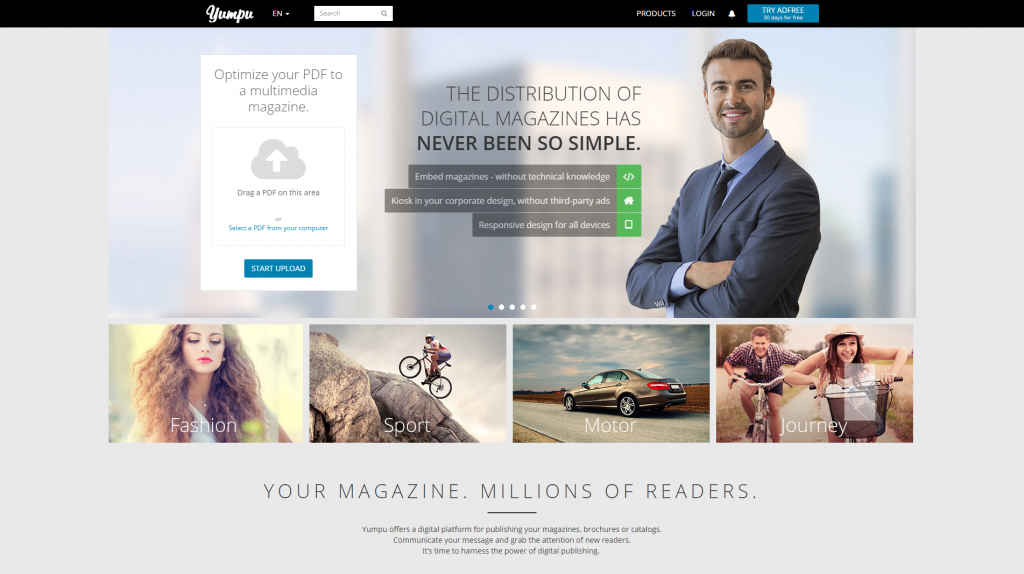
Once you have your PDF, open your internet browser and head over to Yumpu Publishing, and drag your PDF file onto the box which says “Optimize your PDF to a multimedia magazine.”
As soon as your PDF is uploaded you will be prompted to create an account, which you can do quite easily by simply entering your email address, or alternatively, you can use your Facebook, Twitter, or Google+ account.
Once you create your account, Yumpu will send you an email prompting you to activate your account, so simply click the link, choose a username and enter a password.
From here you can fill out your profile information before proceeding to edit your magazine if you so wish.
STEP 3 – EDIT YOUR MAGAZINE
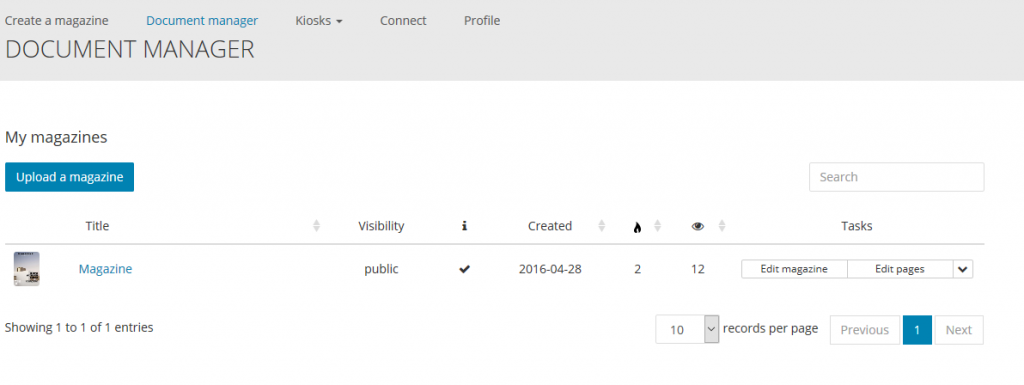
Once you are ready to edit the magazine you just uploaded, hover the cursor over your account name, this will bring up the sub-menu and from here you will want to select “My Magazines”.
Here you can find all the PDFs that you have uploaded to Yumpu. So, as we only have one PDF uploaded at the moment let’s go ahead and click the “Edit Magazine” link.
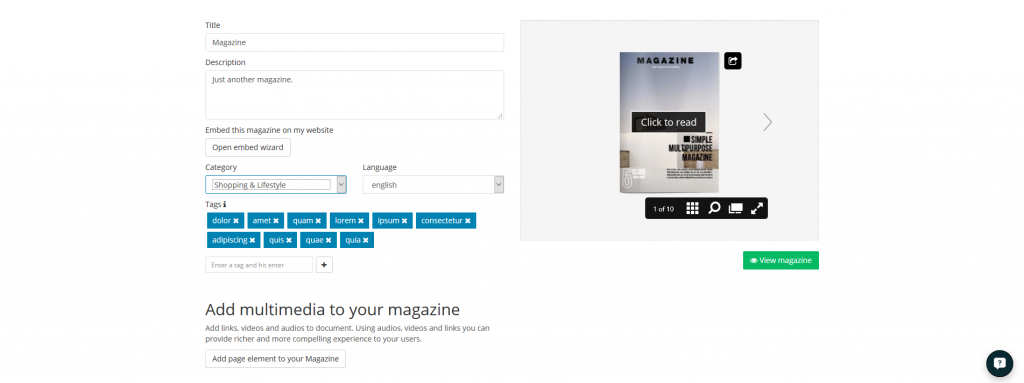
Whilst editing the magazine we can change a number of important features such as:
- Title
- Description
- Category
- Language
- Tags
From this area, we can also grab embed codes, proceed to view the magazine, or even add interactive multimedia such as video, audio, and links to the publication.
STEP 4 – EMBED YOUR MAGAZINE
To embed your magazine you need to click the “Embed” button in the Edit Magazines section. This will display an embed wizard popup that lists your available embed options.
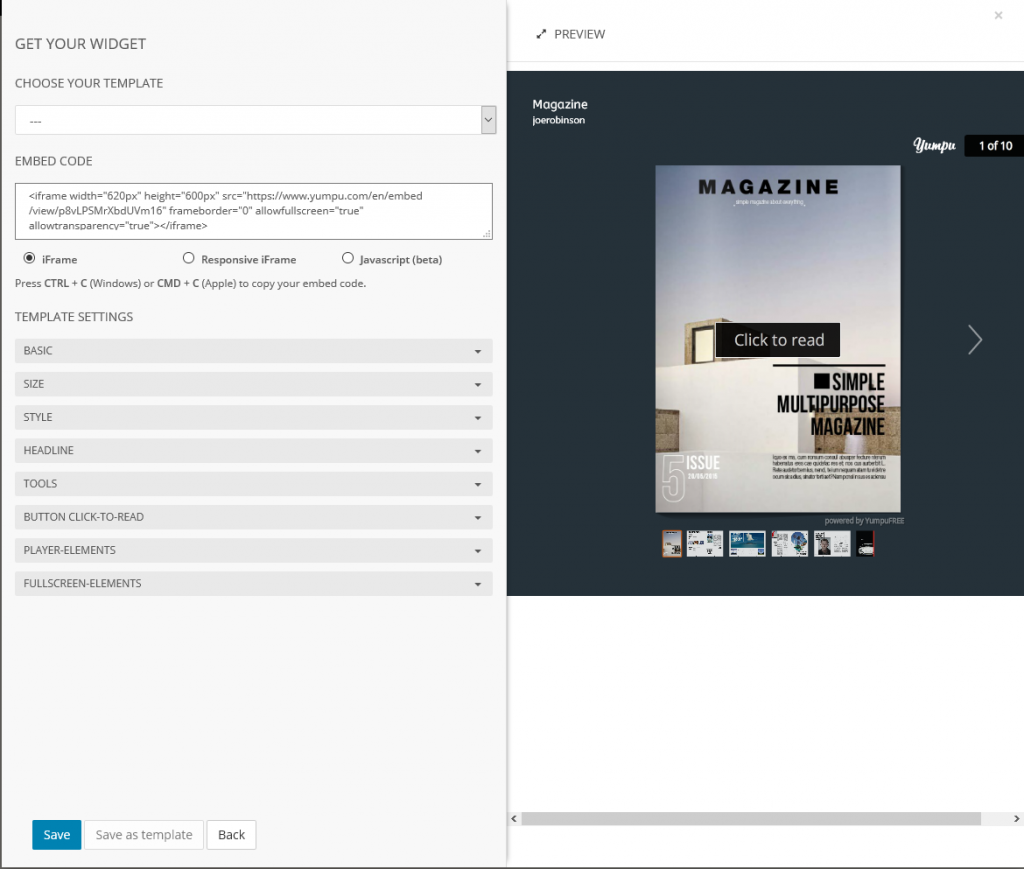
For now, I’m going to assume most people will want to embed the magazine on their website and so I will choose “Advanced Widget”. Here we can edit a number of options including; start page, sizes, styles, fonts, and much more.
Once you have configured your widget you will need to copy the embed code and save the widget. Now all you need to do is paste this code directly into your site and you’re ready to rock and roll!
STEP 5 – SHARE YOUR MAGAZINE
You may also wish to share your new magazine on social media platforms such as Twitter or Facebook. To do this simply click “View Magazine” and then select “Share”. This will display the social media sharing options available to you.
So, there you have it. You know how to use magazine maker software and I’m keen to see your results. Please do let me know how you get on, you can see my finished magazine embedded below!


Leave a Reply